Detailed Installation Instructions For Your ShopShield™
Click on each image to see it larger and in more detail.
 1. Disconnect the computer from keyboard, monitor, and all other external components.
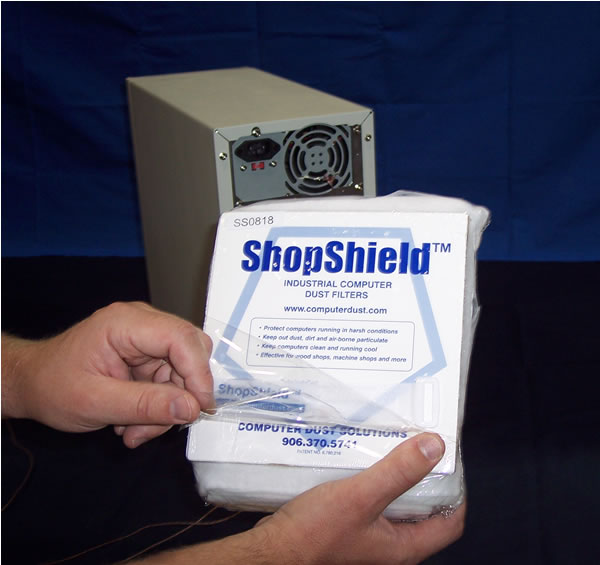 2. Remove the ShopShield™ from its protective packaging being careful not to pierce the filter.
 3. Open internal packaging and remove the disk drive door, instruction card, drive frame, and Velcro strap. Review the instructions on the card.
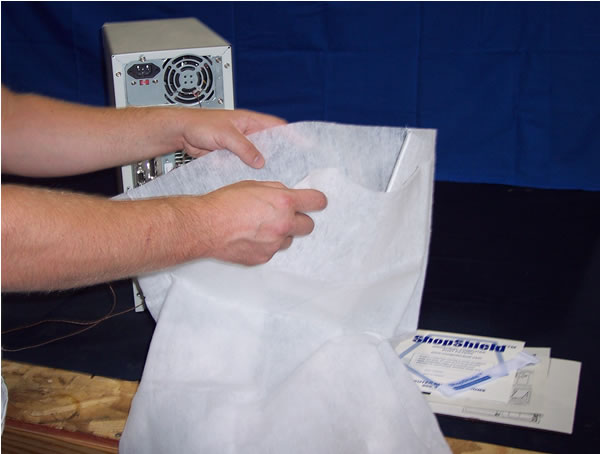 4. Unfold the ShopShield™ filter, grasping the unsealed edge and gently shaking to open.
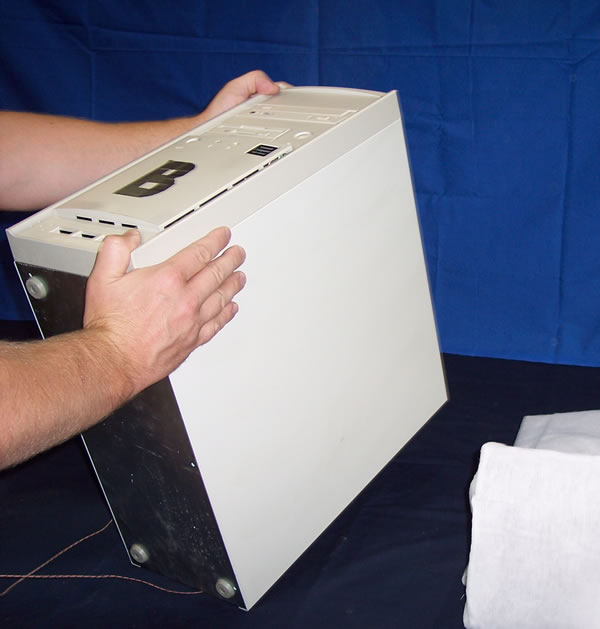 5. Rotate the computer so it is resting on its back side, disk drives facing upwards.
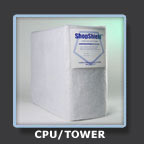
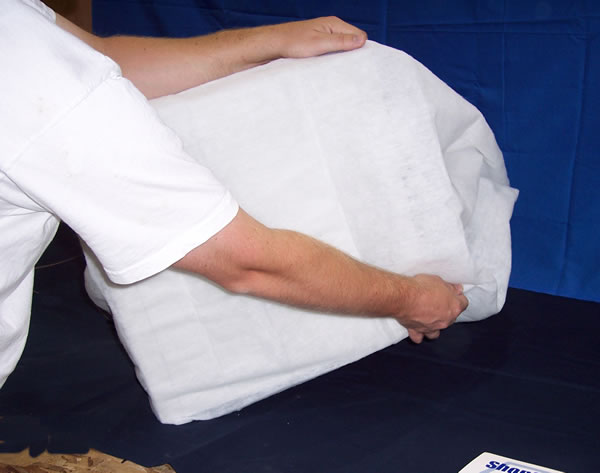
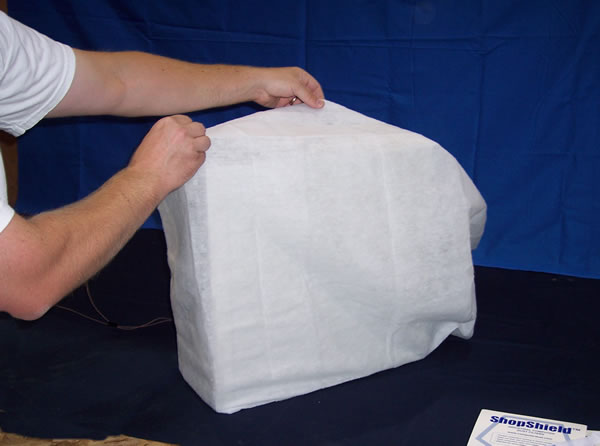
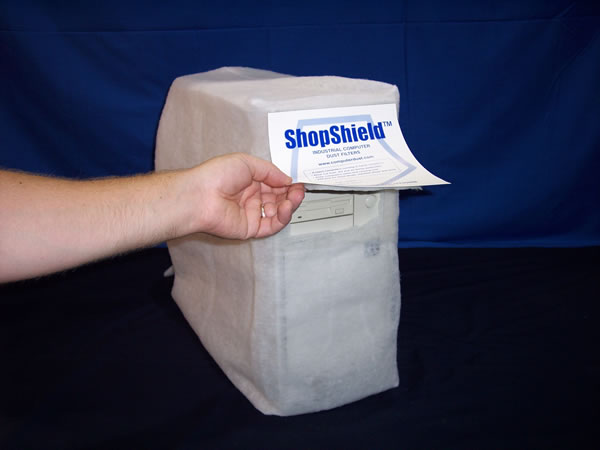
 6. Slide the ShopShield™ over the computer.
 7. Carefully set the computer back on its base. Gently lift the rear of the computer so any bunched filter can be straightened out.
 8. It is very important at this point to make sure that the ShopShield™ is not pulled tight around the computer. Allow the filter to breathe easy and permit access to all of the disk drives.
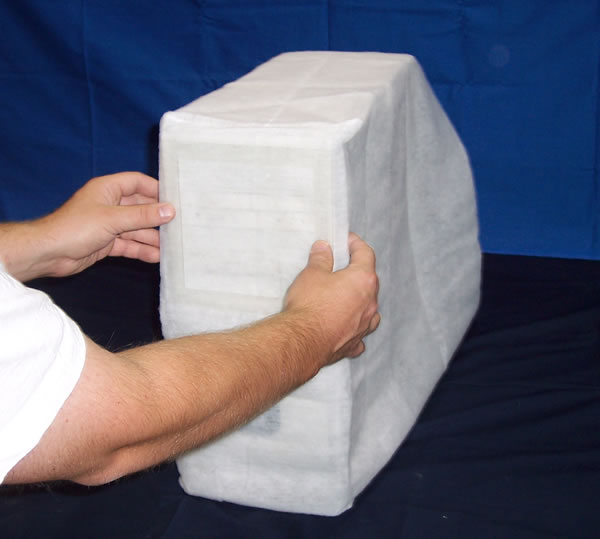 9. Remove the backing from the disk drive door frame and place it on the ShopShield™ so the drives are framed.
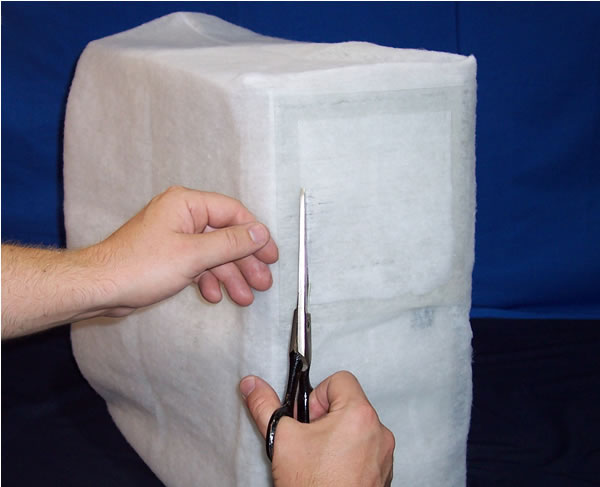 10. With a pair of sharp scissors, carefully cut along the inside left, bottom, and right sides of the frame creating a door flap.
 11. Remove backing from the ShopShield™ disk drive door; there will be adhesive along the top and in the center of the door. Align the door with the frame and gently press to secure.
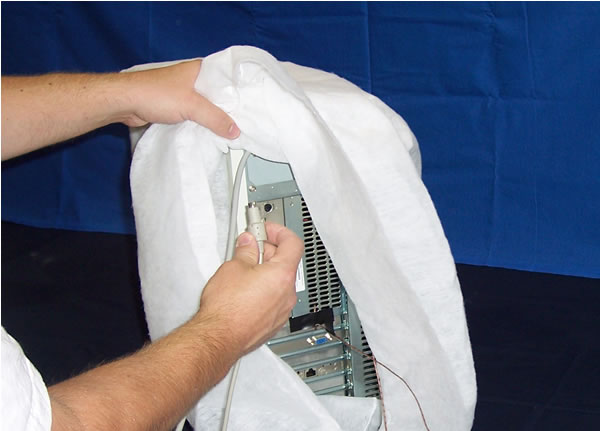 12. Reconnect all components to the backside. The cables will reach the computer by running through the open end of the ShopShield™.
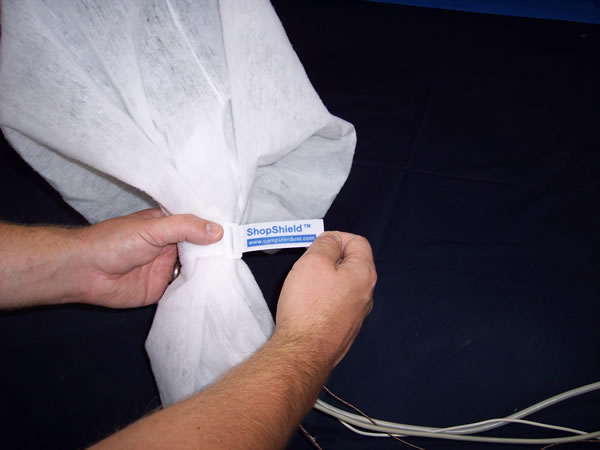 13. Secure the back of the ShopShield™ with the Velcro fastener.
 14. Access drives simply by lifting flap.
 15. The ShopShield™ computer filter is now fully installed. Start your computer and continue working as usual.